Recently I had the idea that I wanted to make Ruby from the Anime RWBY's costume from Volume 4 and onward. I quite like how different her new costume is compared to the old one, and even though I like her old one, this one is quite nice and has so many cool details. Last October I had made for myself her first costume and I've worn it to 3 conventions already, so cosplaying Ruby isn't anything new to me. :) Anyway, I thought I'd show you some progress pictures I took along the way and explain how I made my Ruby Timeskip outfit! :D
 |
| Before I get started, here's a picture of my first Ruby costume. (Please excuse the weird lines on the top - it's called a costume malfunction!) This costume was fairly easy to make and was quite simple, but my sewing skills, while good for doll making and doll clothes, were not the best for making full sized clothing. Luckily my sewing skills have improved for human sized clothing and I have been able to learn from mistakes and with making Ruby's new costume I was able to make it all fit together better! |
 |
| The first thing I did in making my costume was to make Ruby's emblem that goes on her cape instead of on her belt like in her first costume. I made it using craft foam which I had to paint the right colors because I had run out of black and grey foam. It was fairly easy to make, probably the easiest thing I've made for my costume, since I already had a template piece from the first time I made her emblem. |
 |
| After I painted it with the right colors, I sealed it in with glossy mod podge. :) |
 |
| The next thing I had to make was Ruby's cape, which is quite a bit different from her first one since it is longer and also is a completely different style. After studying quite a few pictures of her costume, i determined that it was a hood with a cowl at the front. It seemed easy enough to make except that I had never made anything with a cowl before. So with my Mom's help, I made a pattern that we made based off one photo of a cowl hood pattern and used it to made this cape. I actually made the cape out of a twin sized flat sheet that I got at Walmart for ~$5. |
 |
| Even though I thought the hooded cowl would be easy to make, it turned out to be quite tricky, but I couldn't be happier with the end result. |
 |
| To attach the emblem to the cape I used velcro. I know the emblem is a little large, but it makes me easier to recognize when I'm in the costume, I guess. xD |
 |
| I also cut the bottom edge of the cape to look all ripped up like Ruby's is. |
 |
| The next thing I made was the shirt which I made out of white cotton. Ruby's shirt has frills on the sleeve, which I thought would be easy to make, but it was my first time making frilly sleeves as well, so it was a bit tough. Luckily Mom came to the rescue and helped me out with it! |
 |
| The shirt also has a simple mandarin collar at the top. |
Now I know Ruby's outfit has a cutout in the front and buttons that hold the shirt together below the cutout, but I chose to just do away with the cutout entirely since it wouldn't be seen with my modified version of the outfit, plus I wouldn't be all that comfortable in a shirt with a cutout in the front. And to close up the shirt I have it with an invisible zipper in the back.
 |
| Next up was the corset/vest. I chose to make it a vest instead of a corset to fit my personal preferences. To make it as accurate as I could, I used eyelets to lace it up in the front instead of buttonholes like I did on my first costume. Also since I don't have any fake leather, I used satin to get that fake leathery look. |
 |
| Eyelets are fairly easy to assemble as they're very similar to adding large snaps. Again this was my first time making eyelets, so it was a little hard to get used to, but I got the hang of it after a while. Only when I was trying to cut out the hole that the eyelet goes into, I ended up slicing my finger with the scissors. :O I had to sit back and let it stop bleeding for about half an hour or so, but once I was feeling better, I immediately returned to work on putting in the eyelets. Shows how devoted I am. xD |
 |
| I added a leftover piece from making the cape to behind the eyelets and I used black ribbon to lace it up. |
 |
| To make it easier to get in and out of the vest, I added a zipper to the back. |
 |
| Next up was the belt which was just a strip of satin with bias tape at the edges. |
 |
| To secure the belt I just used a piece of velcro. |
 |
| Next I made the arm cuffs which are basically just satin pieces with strong interfacing in between the layers to make it more sturdy. |
 |
| And to hold these into place I used snaps. |
 |
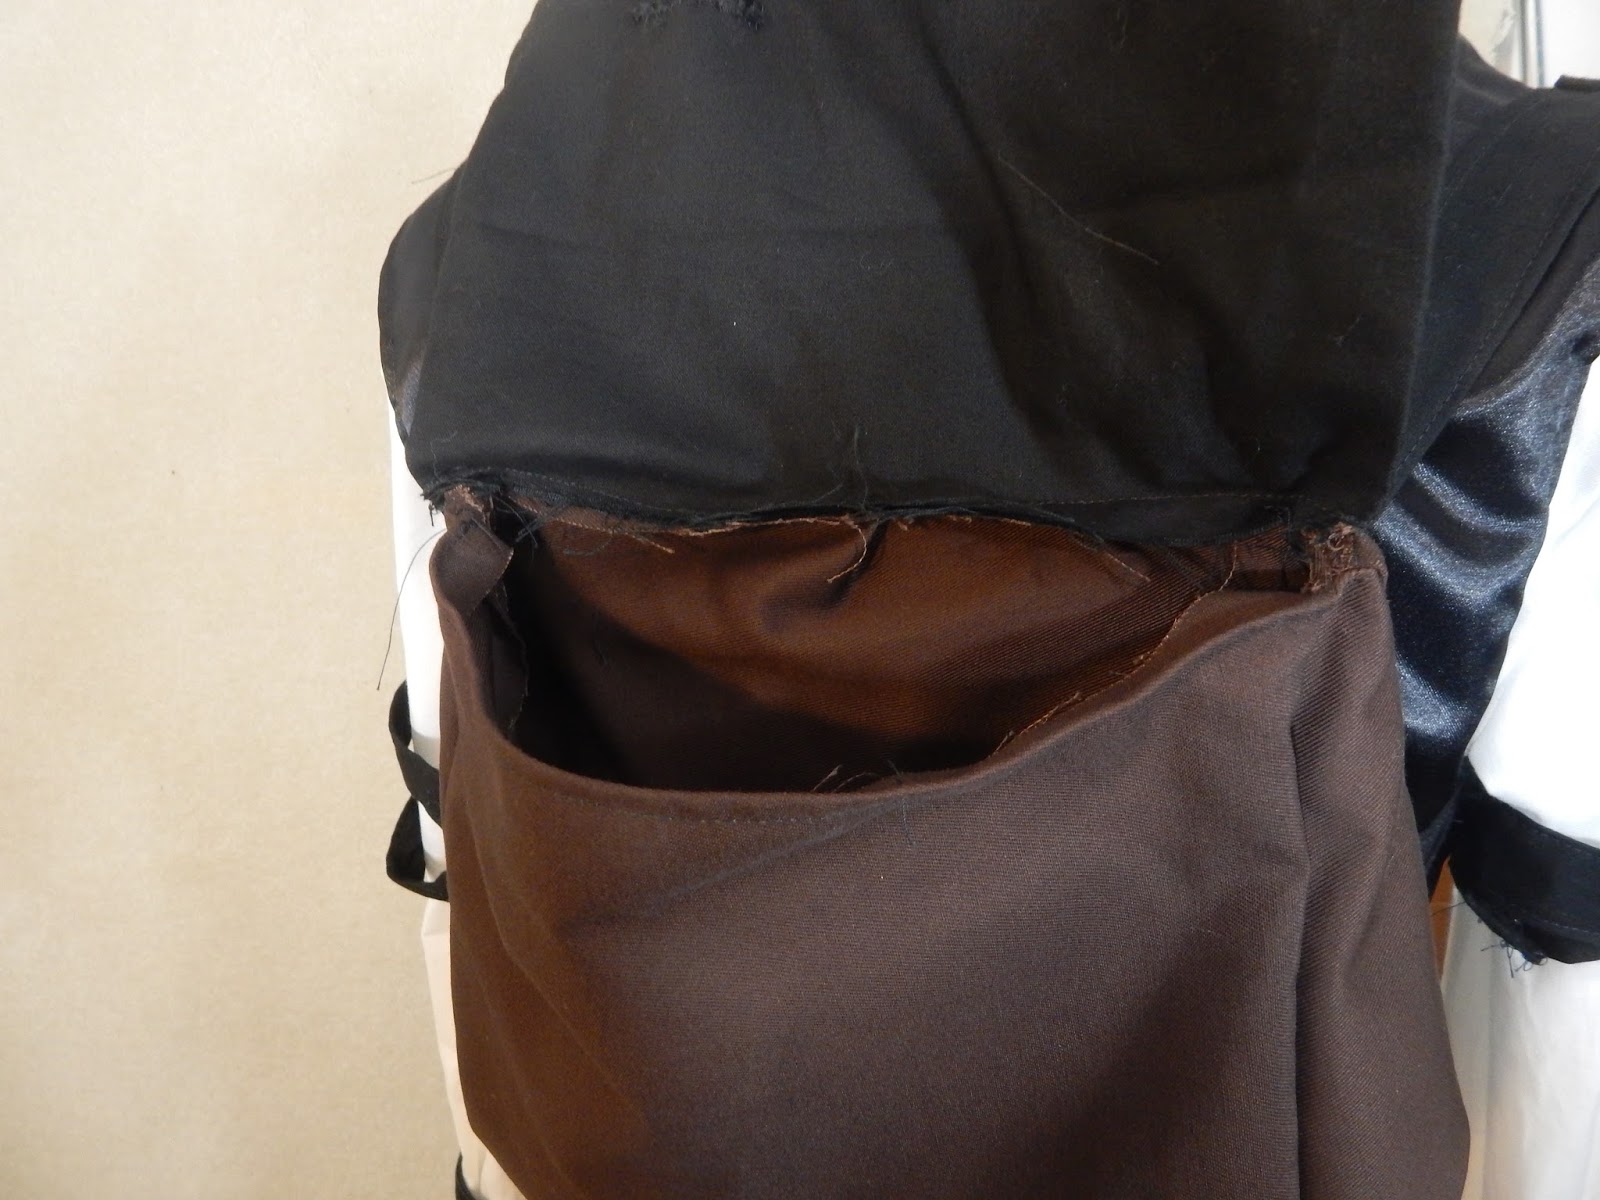
| I made the backpack next, which I'm actually super proud of. I like that I was able to make it fully functional and that I'll be able to put things in it when at conventions. Any storage is good and very useful for going to conventions! |
 |
| I made the straps out of one large piece that I measured to be able to fit and sewed them together at the back to form an X shape. I then sewed the backpack to it, completing my little backpack! |
 |
| I made the arm bands at the end since they would be fairly easy to make. By the time I got to them, I had run out of velcro already, so I used snaps to secure them. Also I wasn't sure if the straps are supposed to be attached to the backpack straps or not since the picture I used for reference wasn't very clear, so I just made them separate so I could still move my arms easily. |
 |
| And finally, I added some extra tulle to my already existing Ruby skirt that I had made for the first costume (I had made it a shirt and a skirt instead of one dress for some reason), making the skirt extra poofy. |
 |
| Overall, I am super happy with how my Ruby timeskip outfit came out and how I was able to modify it to fit my personal preferences without making me feel uncomfortable, and also that I was able to finish it within two weeks! Now I just hope I'll be able to wear to to a convention soon since I cannot wait to wear it out! :D |
I hope you enjoyed this post and seeing/reading the process of how I made it!


Comments
Post a Comment
Please keep your comments related to the blog's content.
-No foul language or cursing.
-Nothing inappropriate