Doll Jewelry Box (Tutorial)
It's Kitty again! Today we have a new tutorial, this time it's a doll jewelry box! This is for the doll earrings we made before. Anyway, let's get this party started! :P

This is what you'll need:
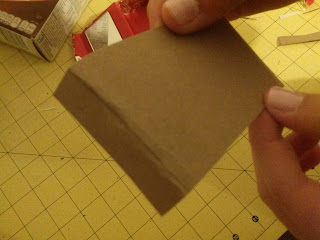
Step 1. Cut out a bit of paperboard
 Step 2. Trace out the shape of the mini box on the cardboard

Step 3. Add a about a half inch (could be less or more) to the sides so it'll be able to stand up inside the box

Step 4. Cut out the shape out of the paperboard

Step 5. Bend on the lines drawn, you may need to make some adjustments to the rectangle so it will fit into the box
Step 6. Try it in the box and make sure it comes out easily

Step 7. Now, take out the rectangle and use a pin to poke holes inside the paperboard to hold earrings. Wiggle the pin around inside the hole to make it big enough.


Once there's enough holes inside the cardboard, it will hold many earrings
Now you can pile all your doll jewelry into the jewelry box! :D

There's also lots of room under the earring holder to keep some more jewelry!

And that, my friends, is your very own doll jewelry box! I hope you enjoyed this tutorial! :D

This is what you'll need:
- A mini box (We used a lipstick case with mirror)
- A scissors (Preferably a strong one)
- A recycled paperboard box
Step 1. Cut out a bit of paperboard


Step 3. Add a about a half inch (could be less or more) to the sides so it'll be able to stand up inside the box

Step 4. Cut out the shape out of the paperboard

Step 5. Bend on the lines drawn, you may need to make some adjustments to the rectangle so it will fit into the box

Step 6. Try it in the box and make sure it comes out easily

Step 7. Now, take out the rectangle and use a pin to poke holes inside the paperboard to hold earrings. Wiggle the pin around inside the hole to make it big enough.


Once there's enough holes inside the cardboard, it will hold many earrings
Now you can pile all your doll jewelry into the jewelry box! :D


And that, my friends, is your very own doll jewelry box! I hope you enjoyed this tutorial! :D
today I got real I mean real blue satin
ReplyDeleteThat's awesome! :D
Deletehave you got around to making rivers body
ReplyDeleteI was going to work on it today, but then I had a ton of other things to attend to. Maybe after Legends of Tomorrow tonight I'll work on it. :)
Delete